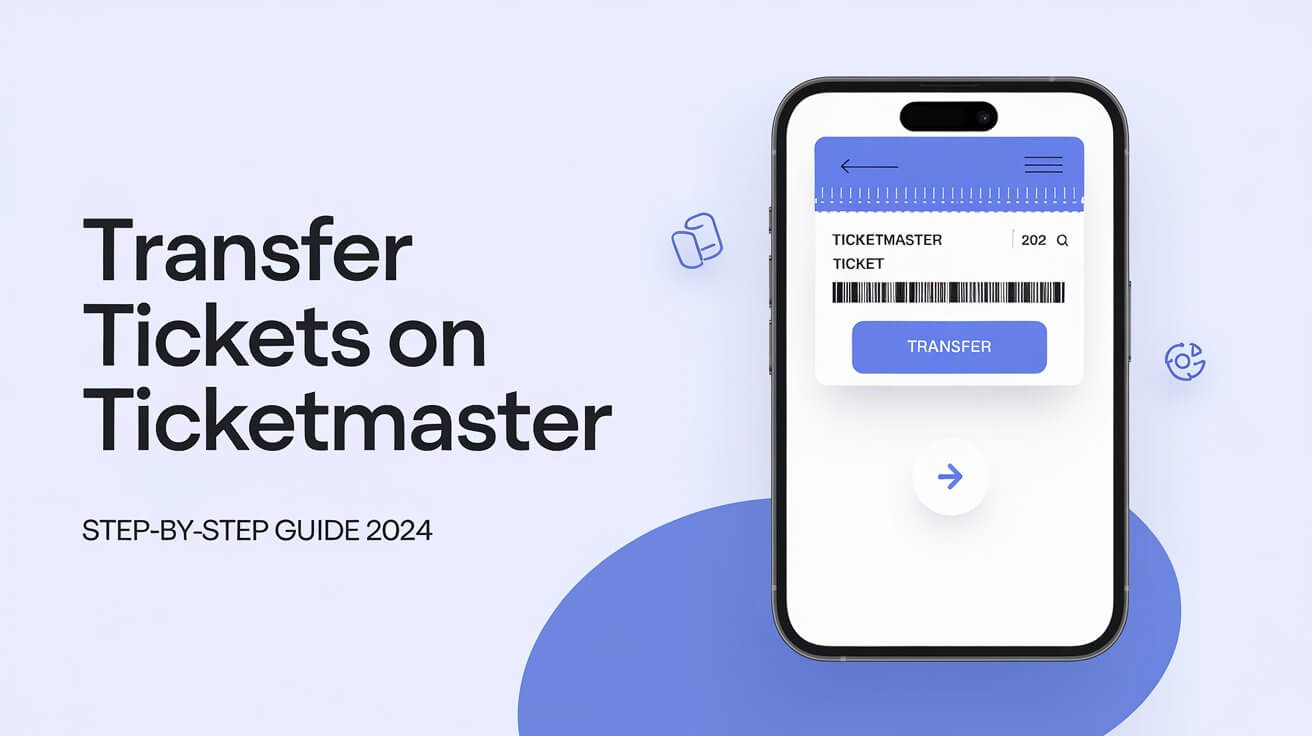
Transferring Ticketmaster tickets lets you safely send tickets to friends and family. The process takes just a few minutes through their website or mobile app. This guide covers everything about transferring tickets, from basic steps to troubleshooting common issues.
Quick Steps to Transfer Ticketmaster Tickets
Transfer Through Ticketmaster Website
The fastest way to transfer tickets starts with logging into your Ticketmaster account. Here’s the exact process:
- Log into your Ticketmaster account
- Go to “My Events” section
- Select the event with tickets to transfer
- Click the “Transfer” button
- Pick which tickets to transfer
- Enter recipient’s email or phone number
- Add an optional note
- Click “Transfer Tickets”
After sending, your recipient gets an email or text message. The transfer works even if your tickets haven’t been delivered to you yet.
Transfer Using Ticketmaster Mobile App
The Ticketmaster app offers an even simpler transfer process:
- Open the Ticketmaster app
- Sign into your account
- Tap “My Events”
- Choose your event
- Tap the “Transfer” button
- Select tickets for transfer
- Add recipient details
- Tap “Transfer Ticket”
The app shows a “Sent” or “Waiting to Accept” status until your friend claims the tickets. Once accepted, you’ll get a confirmation email.
Ticket Transfer Requirements and Eligibility
When You Can Transfer Tickets
Ticketmaster allows transfers for most events. The service comes free – Ticketmaster never charges fees for transferring tickets. You can:
- Transfer some or all of your tickets
- Send tickets before they’re delivered to you
- Transfer tickets that were transferred to you
- Send tickets to multiple people
When You Can’t Transfer Tickets
Several situations prevent ticket transfers:
- The venue doesn’t support transfers
- Artists or venues disabled transfers
- The event got canceled
- The event already happened
- Tickets were bought over the phone
- VIP packages or merchandise included
- Fan club memberships attached
- Ticket insurance included
If the Transfer button appears grayed out, your tickets likely fall under these restrictions.
Tracking Your Ticket Transfer
Transfer Status Updates
After sending tickets, your account shows one of two statuses:
- “Waiting to Accept” or “Sent” – recipient hasn’t claimed tickets
- “Accepted by” or “Claimed” – transfer completed successfully
Keep the transfer link handy until your friend accepts the tickets. You can always resend it if needed.
Confirmation Process
The transfer completes when your recipient:
- Clicks the acceptance link
- Creates or logs into their Ticketmaster account
- Views tickets in their account
Both you and your friend get confirmation emails after successful transfers.
Finding Transferred Tickets
Recipients can find their tickets in several places:
- Ticketmaster account under “My Events”
- Email confirmation message
- Text message link
- Team or venue’s official site
- Venue-specific app
Common Transfer Issues and Solutions
Transfer Button Grayed Out
A grayed-out transfer button usually means:
- The event blocks transfers
- The venue doesn’t support transfers
- Your tickets aren’t eligible
- The event passed or got canceled
Contact Ticketmaster support if you think your tickets should be transferable.
Error Messages During Transfer
Try these fixes for transfer errors:
- Turn off VPN and proxy servers
- Clear browser history and cookies
- Sign out of other devices
- Avoid public WiFi
- Use a private browsing window
- Update the Ticketmaster app
Missing Transfer Option
If you can’t find the transfer option:
- Check your confirmation email for transfer eligibility
- Look for venue-specific transfer rules
- Verify the event hasn’t passed
- Ensure tickets weren’t bought by phone
- Check if the event was canceled
Digital Wallet Integration
Adding Tickets to Apple Wallet
The process varies slightly for Apple devices:
- Open Ticketmaster app
- Sign into your account
- Find tickets under “My Events”
- Tap “View Barcode”
- Select “Add to Apple Wallet”
Some users need to turn their phone sideways to see the Apple Wallet option.
Adding Tickets to Google Pay
Android users can save tickets to Google Pay:
- Open Ticketmaster app
- Log into your account
- Find your tickets
- Tap “Save to Google Pay”
- Follow Google Pay prompts
The tickets appear in your Google Pay app for easy access.
Digital Wallet Troubleshooting
Common wallet issues include:
- Missing “Add to Wallet” button
- Failed transfer attempts
- Sync problems
- Outdated apps
Most issues resolve by:
- Updating your apps
- Checking internet connection
- Clearing app cache
- Restarting your phone
After the Transfer
Canceling Transfers
You can’t cancel transfers after recipients accept them. However, recipients can:
- Transfer tickets back to you
- Send them to someone else
- Keep the tickets
Always double-check recipient details before sending.
Re-transferring Tickets
Accepted tickets can be transferred again if:
- The event still allows transfers
- The new transfer meets eligibility rules
- The event hasn’t happened yet
Each transfer creates new barcodes, invalidating previous ones.
Entry Rules for Transferred Tickets
Transferred tickets work just like original ones:
- Recipients get unique barcodes
- Original tickets become invalid
- Each ticket works only once
- Venue entry follows normal rules
The name on tickets doesn’t matter for entry – the barcode matters most.
Special Transfer Cases
Parking Pass Transfers
Some events let you transfer parking passes:
- Check transfer eligibility in your account
- Look for separate transfer options
- Follow standard transfer steps
- Verify recipient gets parking details
Not all venues allow parking transfers.
Multiple Ticket Transfers
When sending multiple tickets:
- Select all tickets to transfer
- Send to different recipients
- Track each transfer separately
- Confirm all acceptances
You can split ticket groups among various people.
VIP and Package Tickets
Special tickets have extra rules:
- VIP elements don’t transfer
- Merchandise stays with original buyer
- Fan club benefits remain yours
- Insurance doesn’t transfer
Check package details before transferring premium tickets.
Tips for Safe Ticket Transfers
Protecting Your Tickets
Keep transfers secure by:
- Sending to known recipients
- Using correct contact info
- Waiting for acceptance confirmation
- Keeping transfer records
- Screening unknown requesters
Verifying Recipients
Before transferring, ensure:
- You know the recipient
- They have a Ticketmaster account
- Their email/phone is correct
- They can accept quickly
- They understand transfer rules
Transfer Timing
Time your transfers carefully:
- Send well before the event
- Allow time for acceptance
- Check transfer deadlines
- Plan for possible issues
- Keep original tickets until transfer completes
Ticketmaster makes ticket transfers simple and secure. Following these steps ensures smooth transfers every time. Remember to verify eligibility, use correct recipient information, and track your transfers until completion. The process protects both senders and recipients while making ticket sharing easy and convenient.

