Have you ever found yourself with an extra ticket or two to a sold out event? Or perhaps you ended up not being able to attend something you already bought tickets for? If this sounds familiar, you may be wondering what options exist for selling those unused tickets to recoup some costs.
One popular platform for reselling all kinds of event tickets is SeatGeek. As an open marketplace connecting ticket buyers and sellers, SeatGeek makes the process easy whether you have a few tickets or a whole season’s worth to offload.
But how exactly does listing tickets work on SeatGeek?
In just a few steps, you can list tickets you already have for sale on SeatGeek’s website or mobile app. Once sold, the tickets will be automatically transferred to the buyer and you’ll receive your payout shortly after.
In this comprehensive guide, we’ll cover everything you need to know, including:
- What SeatGeek is and how its ticket marketplace works
- Requirements and steps for listing tickets for sale
- Tips for setting an optimal ticket price
- How to manage your listings
- Getting paid after a successful SeatGeek sale
- Important things to keep in mind as a seller
So if you’re looking to make some money back on unused tickets, look no further. Let’s dive into how to easily list them on SeatGeek!
What is SeatGeek and How Does Its Ticket Marketplace Work?
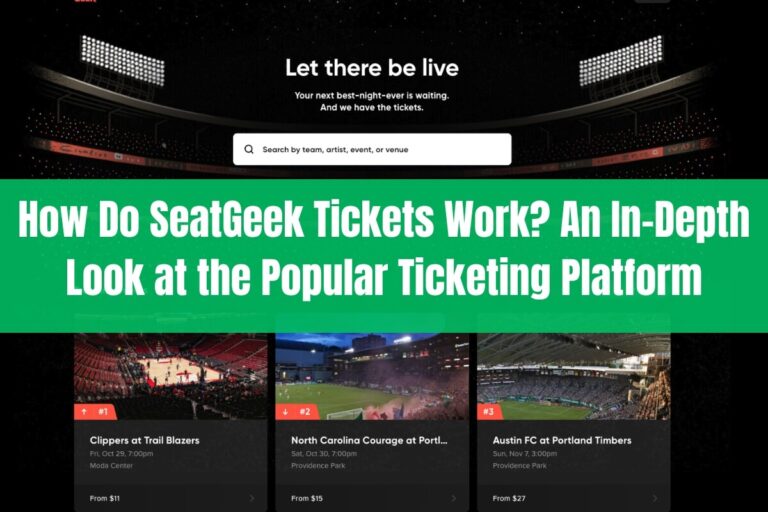
SeatGeek is an online ticket marketplace that allows users to buy and sell tickets to live entertainment events including concerts, theater shows, comedy acts, festivals and sporting events.
The platform uses data and analytics to provide ticket buyers with a Deal Score indicating the quality of the seats they are considering purchasing. For sellers, these insights help guide pricing decisions when listing tickets for sale.
To buy or sell tickets on SeatGeek, you’ll first need to create an account by providing some basic contact information.
As a buyer, you can then search events and purchase tickets. If you have tickets to offload, you can securely upload eligible tickets to your SeatGeek account and list them for sale with just a few clicks.
Once a sale is made, SeatGeek handles the transaction and transfer so sellers don’t have to coordinate delivery or exchange. The tickets will automatically move to the buyer’s account. After the event wraps up, you’ll receive your payout directly to your bank account.
This makes SeatGeek’s marketplace easy, safe and convenient for both ticket buyers and sellers.
What You Need to List Tickets on SeatGeek?
Listing tickets for resale on SeatGeek is simple if you have the following:
A SeatGeek Account
Naturally, you’ll first need to set up a free SeatGeek user account. When creating your profile, make sure to use the same email address associated with any existing ticket accounts you have for seamless integration.
Valid Event Tickets
To list tickets for sale, you must first upload them to your SeatGeek account. SeatGeek currently accepts:
- PDFs of printed or downloadable e-tickets
- Screenshots displaying QR codes for mobile tickets
- NFL ticket barcodes
You cannot resell things like physical paper tickets, wristbands, season passes or other non-electronic ticket formats via SeatGek.
Bank Account for Payouts
When creating your seller profile, you’ll need to enter details for the bank account you want your profits paid out to after tickets sales.
Step-by-Step Instructions for Listing Tickets
Once your SeatGeek seller account is created and tickets are uploaded, you can list them for sale in just a few simple steps:
1. Select Your Event Ticket
Log into your SeatGeek account on the website or mobile app and navigate to the My Tickets page. Locate the specific event ticket(s) you wish to list and tap to open it.
2. Tap “Sell Tickets”
On the ticket details page, click or tap the “Sell Tickets” button to initiate the listing process.
3. Choose Number of Tickets and Pricing
Use the controls provided to select how many tickets you want to list from your available quantity. You can list them separately or in grouped sets.
Next, enter your desired sales price and listing duration. For some popular events, there may be a defined minimum price you must list at.
4. Review and List Your Tickets
The last step is to verify all listing specifics accurately reflect the tickets for sale. Once confirmed, click or tap the “List Tickets” button to officially publish your listing to the SeatGeek marketplace.
And that’s it! Within minutes you can have your unused tickets posted. Now let’s look at some tips for making the most money back possible on your sales.
Tips for Setting an Optimal Ticket Price
Selling at the right market price is important for turning your extra tickets into cash quickly. When listing, keep these tips in mind:
- Check Comparable Listings – See what other sellers are pricing comparable tickets for your event at. This gives you a sense of the current market rate.
- Consider the Ticket Face Value – The original face value printed on the ticket can provide a baseline price point. But be aware for high demand events, market prices often far exceed face values.
- Factor in Seat Location – Closer, centered seats typically command higher prices than peripherals or obstructed views.
- Adjust for Peak Event Times – Fridays and weekends see more demand, which could allow for pricing markups during these peak periods.
- Use SeatGeek’s Pricing Tools – Leverage Deal Score technology and other platform features to pick optimal listing price.
Getting the price just right takes some practice. Set the highest amount you think a buyer would reasonably pay and adjust as needed based on market response and event demand trends.
Manage Your SeatGeek Ticket Listings
Once live on the marketplace, you can still actively manage your listings by:
- Editing – Modify key details like pricing or quantity available anytime before a purchase occurs.
- Delisting – Remove the listing entirely if you decide you want to attend the event or use the tickets in some other way.
- Getting Notifications – Opt to receive alerts via email or text when sales occur or important status changes happen.
Closely monitoring your active listings allows you to maximize sales and profits.
Getting Paid After Your SeatGeek Sale
Once someone purchases your listed tickets, the transaction happens automatically. SeatGeek deducts their standard 10% seller fee and immediately initiates ticket transfer to the buyer.
You’ll receive payment to your connected bank account quickly:
- Payout Sent – Within 48 hours of event completion, your profit (sales proceeds minus fees) will get deposited.
- Money in Your Bank Account – Expect the payout amount to appear as available funds within 5 business days.
And just like that you’ve converted unused tickets into cash you can spend on your next event!
Important Things to Know as a SeatGeek Seller
Selling event tickets through SeatGeek makes recapturing value on unused tickets simple. But do keep the following items in mind:
- SeatGeek accepts a limited range of electronically transferrable ticket formats – double check yours qualifies before assuming it can be resold.
- Carefully enter correct ticket details like section and seat numbers when creating listings to avoid issues.
- Note that sales are final in all cases – once a buyer purchases tickets you cannot revoke the transaction.
- Delist tickets promptly if you decide to use them yourself or sell elsewhere to avoid conflicts.
- Provide good customer service just like any marketplace seller – respond promptly to buyer inquiries.
- Keep transaction records for tax purposes if you are selling more than just occasionally.
As long as you accurately represent what’s for sale, transfer tickets smoothly after purchase, and provide stellar service, you’ll enhance your reputation as a reliable seller on SeatGeek.
In Summary
Selling unused tickets through SeatGeek is a breeze. In just minutes you can create a seller profile, upload eligible tickets to your account, set a price, and publish listings for purchase.
You don’t have to coordinate meetups or delivery as SeatGeek automatically transfers tickets to buyers on your behalf. After sales, you’ll receive earnings quickly via direct bank account deposit.
Next time you have an extra ticket or find yourself unable to attend an upcoming event, remember SeatGeek. Listing those unused tickets for resale takes practically no time at all.
We hope this guide gave you a good overview of how SeatGek’s ticket marketplace works for sellers. Now you know exactly how easy it is to submit your own ticket listings anytime you have seats going spare.
So why let tickets go to waste when you could list them on SeatGeek instead? Get out there and start selling!


